How To Draw Ripples In The Water
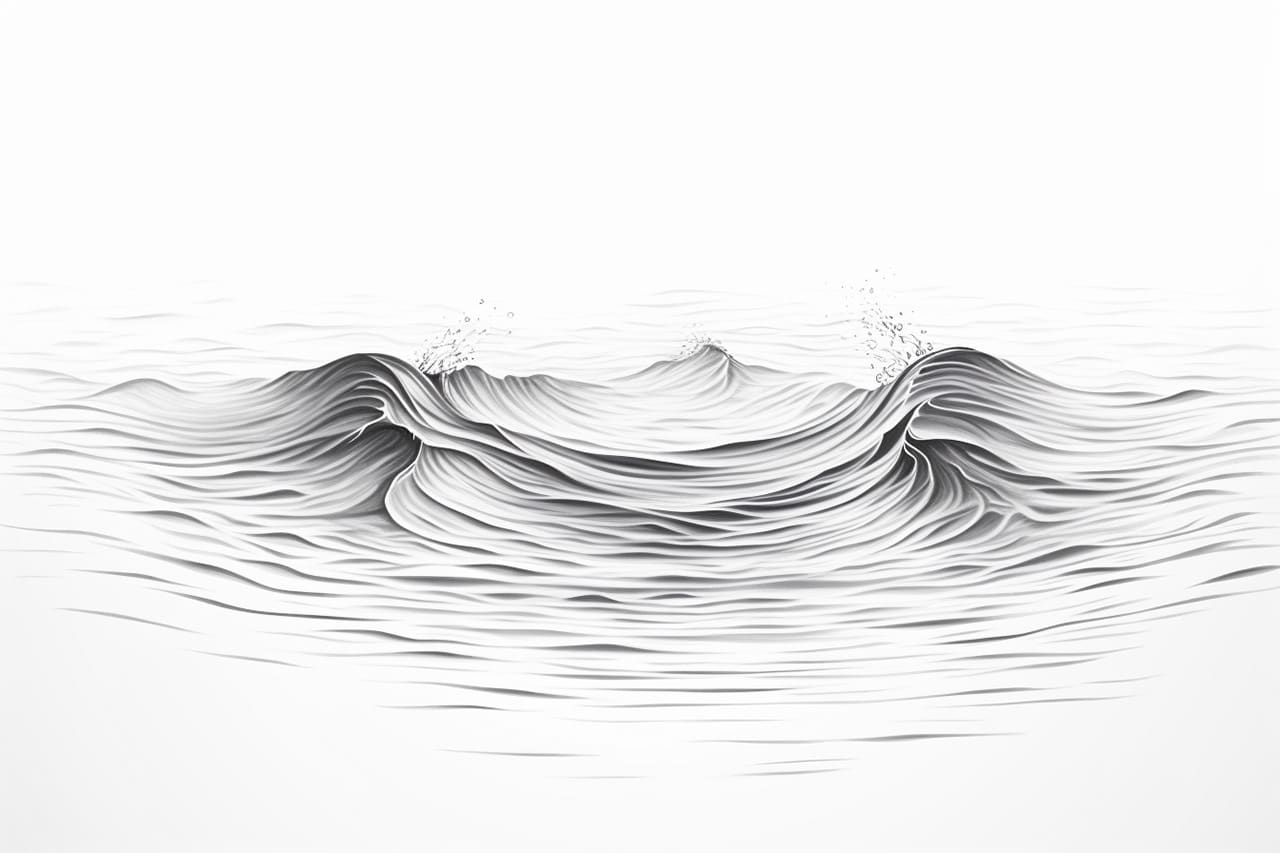
How To Draw Ripples In The Water - Overlap an oval from the center and erase it in places to make it look like a ripple. Sweet dreams (batchbug)do well to subscribe to. Web learn to draw easy with our step by step tutorial.don't forget to subscribe.and write down your request in the comment below.what should i draw next?! Web watch full video on : Web now add the darker green to the ripples on a seperate layer. Use the following 2 images to help you! Web our water landscape possibilities are endless. For artists looking to refine their shading skills, a comprehensive guide on what a portrait delves into various pencil shading techniques that can be applied to water. Tension of water looks like.” that surface can flow gently or rapidly, but as it flows you can use bubbles and water ripples to communicate the motion. Web when it comes to drawing ripples in the water, having the right environment is key. Light and shadows play a very important rule here, and the shapes are definitely much more complex than just a simple circle. Overlap an oval from the center and erase it in places to make it look like a ripple. Water ripples are constantly changing and shifting, so strive for a loose and fluid style. All those ripples, waves, reflections.oh my!! Web master the art of drawing water ripples with insights from a medium article that provides detailed instructions on how to capture the movement and texture of water using pencil. Remember, your goal is to capture the essence of water ripples, rather than creating a highly detailed. This is where things get a little bit tricky. Something dropped into a pool of water, creating a splash and ripples on the water surface. Web hello friends in this drawing video you will see how to draw water ripples step by step. Web one crucial tip is to not overwork your drawing. Web i've just posted loads of extra tutorials and references exclusively on our twitter here today! Don’t get caught up in excessive details, as this can detract from the overall illusion of movement. Web ripples in water are more formally known as capillary waves, and are caused by the subtle interaction of wind and water, or the physical interaction of. Stick man comic drawing 165 0. Have you ever stood at the edge of a lake on a hot summer day and stared out across the water? Web now obviously water ripples aren’t ovals and circles, so we need to adjust the shape of this layer! Behind that, there’s a huge greenhouse full of plants. “if you want to communicate. Don’t get caught up in excessive details, as this can detract from the overall illusion of movement. Use the following 2 images to help you! Look for a spot that’s sheltered, with still water and little to no wind. Tension of water looks like.” that surface can flow gently or rapidly, but as it flows you can use bubbles and. Even if there isn’t a whisper of wind against your face, you. In the video i show you which pens are suitable to draw it like this.su. Use a soft brush and draw a few skewed lines into the water. Web learn to draw easy with our step by step tutorial.don't forget to subscribe.and write down your request in the. Web what a beautiful and peaceful morning, she recalled thinking as she glanced at the ripples atop the water. I repeated this step once to highlight specific parts of the rays. Web the decor of chicago's cheesecake factory unnerved me. “all of a sudden the ripples become the top of a giant alligator head just from nowhere. My 2 sold. Don’t get caught up in excessive details, as this can detract from the overall illusion of movement. Practice and observation are key; Web now add the darker green to the ripples on a seperate layer. This is a bit more complex. I went wrong primarily by choosing textured paper instead of a smooth surface. Web one crucial tip is to not overwork your drawing. Web drawing ripples in the water is a skill that can greatly enhance the realism and visual impact of your artwork. Web now add the darker green to the ripples on a seperate layer. Create a new layer on top of the layer of the flipped person. Web our water. Sweet dreams (batchbug)do well to subscribe to. Web one crucial tip is to not overwork your drawing. Stick man comic drawing 165 0. For artists looking to refine their shading skills, a comprehensive guide on what a portrait delves into various pencil shading techniques that can be applied to water. My 2 sold out tutorials books are coming back to. Overlap an oval from the center and erase it in places to make it look like a ripple. All those ripples, waves, reflections.oh my!! Look for a spot that’s sheltered, with still water and little to no wind. Web now add the darker green to the ripples on a seperate layer. Now that you have an idea of how ripples. Web the decor of chicago's cheesecake factory unnerved me. By focusing on the interplay of light and shadow, using the right tools, and incorporating surrounding elements, you can create captivating water scenes. Web i've just posted loads of extra tutorials and references exclusively on our twitter here today! Water ripples are constantly changing and shifting, so strive for a loose. For artists looking to refine their shading skills, a comprehensive guide on what a portrait delves into various pencil shading techniques that can be applied to water. Light and shadows play a very important rule here, and the shapes are definitely much more complex than just a simple circle. This water stroke when combined with appropriate reflection can be used to draw water as shown below. Use the following 2 images to help you! The best way to do this is by using small, light pencil strokes to create ripples on the surface of the water. Web draw a drop of water with ripples. Water ripples are constantly changing and shifting, so strive for a loose and fluid style. Web one crucial tip is to not overwork your drawing. I repeated this step once to highlight specific parts of the rays. To draw the water, you need to first add in the texture. This will be the refractiong of light visibile through the water surface. By focusing on the interplay of light and shadow, using the right tools, and incorporating surrounding elements, you can create captivating water scenes. “if you want to communicate the flow of water. Web hello friends in this drawing video you will see how to draw water ripples step by step. Web now add the darker green to the ripples on a seperate layer. Web now obviously water ripples aren’t ovals and circles, so we need to adjust the shape of this layer!How To Draw Water Ripples
How to Draw Ripples in the Water Yonderoo

How To Draw Water Ripples Digital I practisted about 5 drops and had

10+ How To Draw A Water Ripples New Hutomo

How To Draw Ripples In The Water

How to draw water ripples step by step YouTube
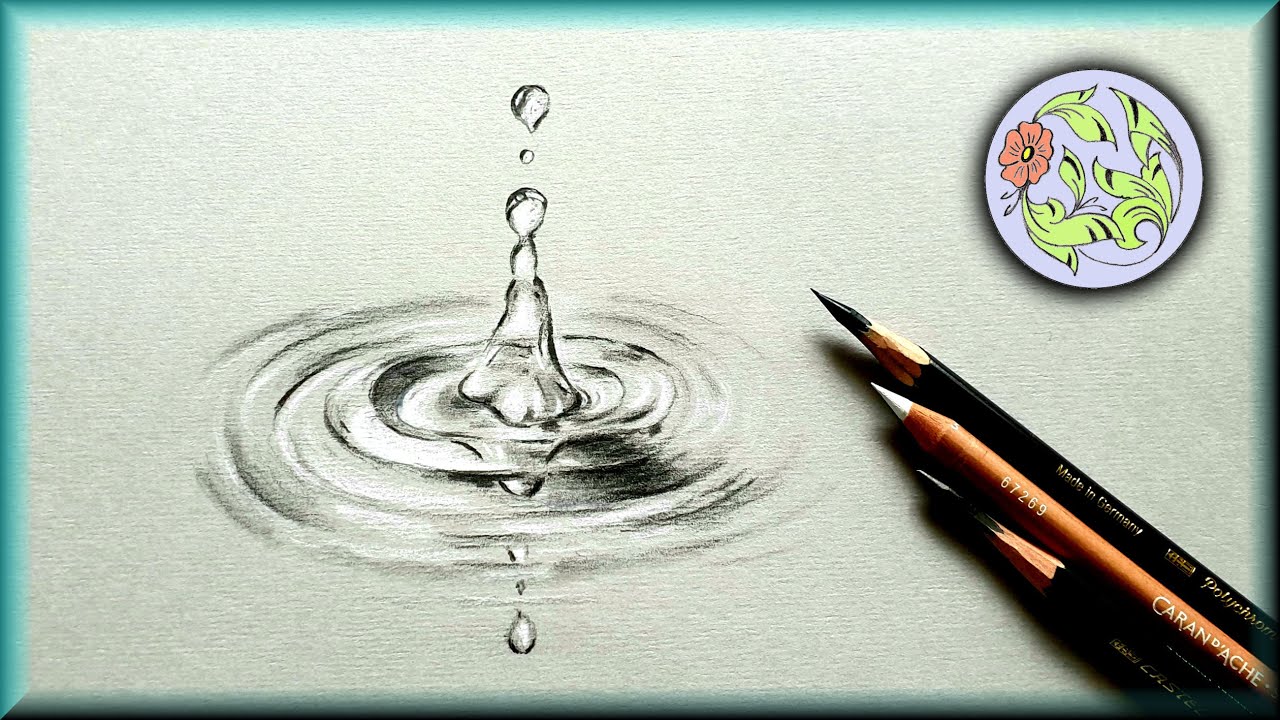
How to Draw a Water Drop with Ripples the best PENS for this Sketch

Marvelous Info About How To Draw Water Ripples Weektaste

Water ripple effect realistic drawing How to draw using graphite
How To Draw Water Ripples
Web When It Comes To Drawing Ripples In The Water, Having The Right Environment Is Key.
Vertical Lines Are Very Effective At Drawing Still Reflection In Calm Water As Shown Below.
Web Drawing Ripples In Water Can Truly Elevate Your Artwork By Adding A Touch Of Realism And Dynamism.
Ripples Can Be Added To Almost Any Body Of Water, Like An Ocean Or A Pool.
Related Post: